

How to Paint my House in 14 easy painting steps
14 Helpful Tips to follow when painting your house. these helpful tips will make painting your house a breeze!
Painting your house involves several steps to ensure a smooth and professional finish.
Start by preparing the surfaces, which includes cleaning, sanding, and repairing any cracks or holes.
Protect areas you don't want painted by using painter's tape and drop cloths.
Choose a high-quality paint suitable for the surface and climate, and gather the necessary tools like brushes, rollers, and ladders.
Apply a primer first if needed, then follow with two coats of paint, allowing sufficient drying time between each.
Finish by removing the tape carefully and touching up any missed spots.

If you're planning on painting your house, there's no doubt that it's going to require a lot of work. But there are ways to make the process a little less daunting, and even somewhat enjoyable. Here are a few tips:

| Choose the right color. | Select the appropriate color by considering factors such as room size, lighting, and personal preference. Take into account the mood you want to create and whether you want the color to be bold or subtle. | |
| Decide on a sheen. | Determine the desired sheen by understanding the different finishes available, such as matte, eggshell, satin, or gloss. Consider factors like durability, ease of cleaning, and the specific look you're aiming for. | |
| Get the proper tools. | Acquire the necessary tools, including brushes, rollers, painter's tape, drop cloths, and any other supplies that will make the painting process smoother and more efficient. | |
| Prepare the area. | Prepare the designated area by moving furniture, covering floors, and cleaning the walls. Ensure that the surface is free of dust and debris to achieve the best possible finish. | |
| Cut in along the edges. | Carefully cut in along the edges using a high-quality brush for precision. This involves painting the corners and edges first to create a clean border before using a roller to cover larger areas. |
1 Plan Ahead
-
Before you start painting, plan your project thoroughly. Decide on the colors, gather all necessary supplies, and create a timeline for each phase of the project.2
- This will help you stay organized and avoid last-minute rushes
2 Prepare the Surface
- Proper surface preparation is crucial a flawless. Clean the walls, remove any dirt, dust, or grease, repair any cracks or holes.
- Sand the surface to ensure it is smooth and ready for painting.
-
Use Quality Paint and Tools
-
high-quality paint and brushes or rollers. Good quality paint provides better coverage, durability, and a more professional look.
-
Quality tools make the application easier and more efficient.
-
-
3 Protect Space
- Cover furniture, floors, and any fixtures with drop cloths or plastic sheets to protect them from paint splatters. Use painter's to mask off edges, trim, and areas you don't want to paint
4 Prime the Walls
-
Applying a primer before painting can enhance the paint's adhesion and longevity.
-
Primer also helps cover any or dark colors, providing a uniform base for the topcoat.
-
5 Use Proper Techniques
-
Apply paint using the right techniques to achieve a smooth and finish Use long, even strokes and avoid overloading the brush or roller.
-
Start from the top and work your way down to prevent drips and streaks.
-
6 Allow Adequate Drying Time
-
Follow the manufacturer's instructions for drying times between coats. Rushing the process can result in uneven coverage and a less durable finish.
7 Clean Up Properly:
-
After completing the painting, clean your brushes and rollers thoroughly. Store any leftover paint properly for future-ups.
If you need help painting your home, please feel free to contact us today to get your house painting services started


-
Your 14 Step-by-Step Guide to Painting Like a Pro
Transforming your space with a fresh coat of paint doesn’t need to be overwhelming. Follow these simple steps to ensure a smooth, hassle-free painting process and achieve professional results.
9. Clear Out the Clutter
Before you begin, make sure the area you’re painting is free of any unnecessary items. Move furniture to another room if possible, or push it to the center of the space and cover it with plastic sheets. This step prevents damage and gives you ample room to work.
10. Get Your Supplies Ready
Make a checklist of everything you’ll need: paint, brushes, rollers, painter’s tape, a paint tray, drop cloths, and a ladder. Having your tools organized and within reach will save you time and frustration during the job.
11. Protect Your Floors and Furniture
Lay down drop cloths or plastic sheeting to shield your floors from accidental spills and splatters. Use painter’s tape to cover edges, trim, and any surfaces you don’t want to paint. Taking this precaution will ensure a neat, professional finish.
12. Choose the Right Paint
Pick a paint that suits your needs and the room’s purpose. For example, opt for washable finishes like satin or semi-gloss for high-traffic areas, while matte finishes work beautifully in spaces that require a softer look. Don’t forget to choose a primer if your walls need extra coverage.
13. Prepare the Surface
A smooth surface is the key to a flawless paint job. Clean the walls to remove dust and grease, fill any holes or cracks with spackle, and sand uneven areas. If you’re painting over a darker color, apply a primer to create a neutral base.
14. Paint Like a Pro
Start by cutting in—painting the edges of walls, around corners, and near trim with a brush. Once that’s done, use a roller for the larger sections. Work in small sections, roll in overlapping “W” shapes, and apply thin, even coats for the best results. Allow ample drying time between coats.
Clean Up
Once the paint has dried, carefully remove painter’s tape at an angle to avoid peeling. Clean your brushes and rollers with warm, soapy water (or the appropriate cleaner for oil-based paints). Dispose of or store leftover paint properly, and fold up your drop cloths. Step back and admire your hard work!
Follow these steps, and you’ll have a beautifully painted space that you can enjoy for years to come!
Recommended Painting Tools
Quality Paint Brushes
-
Purdy XL Series 2" Angle Brush
- Great for cutting in along edges, trim, and corners. The angled bristles help with precision.
-
Wooster Silver Tip 2" Angle Sash Brush
- Known for fine, soft tips that reduce brush marks. Ideal for water-based paints.
Room Painting Order
Painting a room can seem daunting,
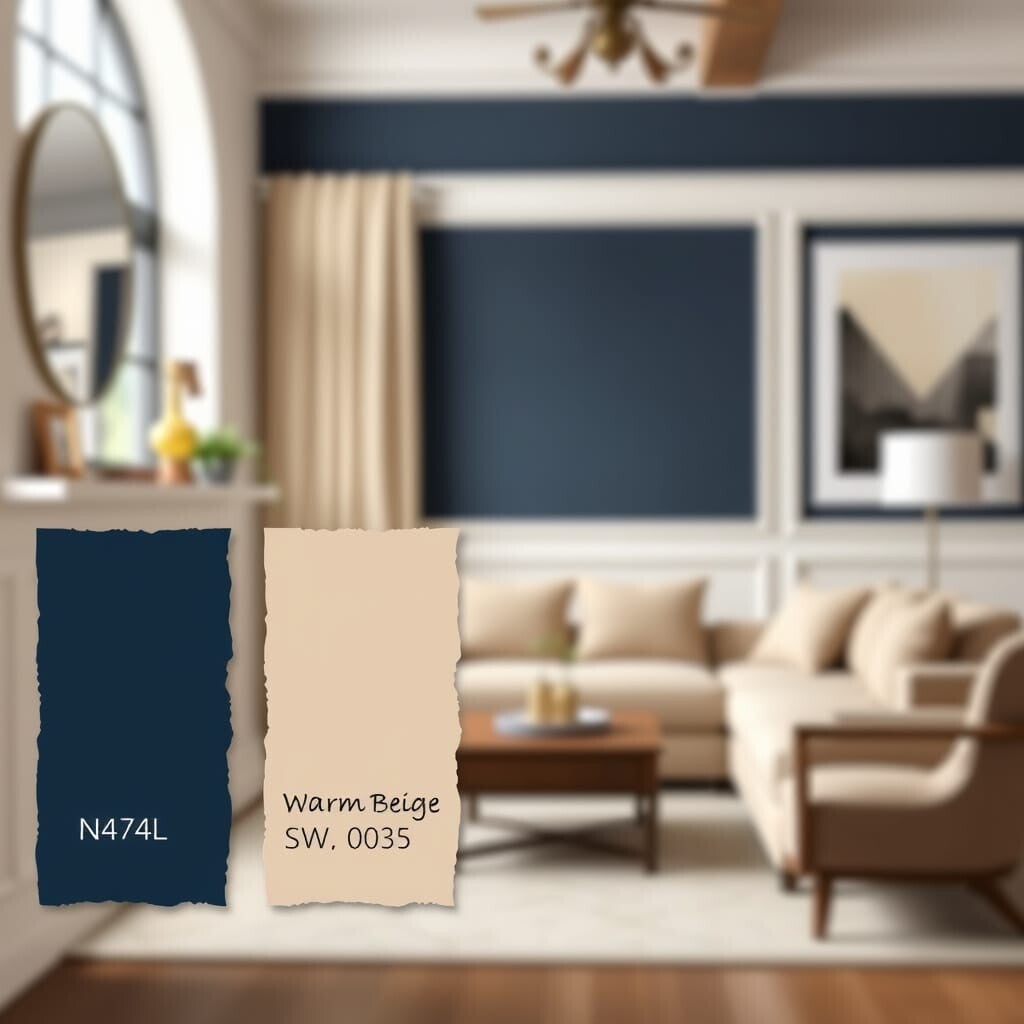
8 Popular Color Combinations for Interiors
Here are 4 gorgeous color combos using tones from our palette —
Why Exterior Painting Matters in Dallas, Climate
Dallas, Texas, known for its hot summers and variable weather, presents unique challenges when it comes to exterior painting. The region's climate demands painting solutions that can withstand a wide range of conditions, from intense heat to sudden storms.
Drywall Repair Products: What to Use and When
Whether you're patching a small hole, repairing water damage, or matching a textured ceiling, knowing the right drywall product to use can make or break your project. At House Painting Triforce, we work with top-tier materials—especially ProForm® Finishing Products—to ensure a clean finish, long-lasting repair, and minimal dust during application.
What are some cost-saving tactics for flooring and painting?
Complete Guide to Window Trim: Types, Costs, and Materials
In this guide, we’ll break down:
Mold Inside Walls
Best Interior Door Paint
Not all paints work the same, especially when it comes to your interior doors. Think of it like shoes—some are for hiking, some for dancing, and some just for style. Doors go through a lot every day, so picking the right paint can mean the difference between a short-term fix and a long-lasting finish.
Popular Colors for Exterior Painting in 2025
Send us a message if your Entryways, hallways, and kitchens take a beating and are in need of a refreshing new coat of interior paint
How to Get a Fast, Fair Painting Quote in Dallas – What to Expect from House Painting Triforce
Getting a painting quote shouldn’t feel like a guessing game. At House Painting Triforce, we make it easy by offering clear, fair, and fast estimates for both interior and exterior work.
Best Siding Materials for Homes
Discover the best siding materials for durability, curb appeal, and energy efficiency.

Add comment
Comments